Special thank you goes to David Bivins for teaching me how to use Levels in Photoshop. I am really excited about this new technique.
I scanned the negative as outlined in part I, but after inversion all adjustments were performed in Levels, as follows:
- I clicked on Options in the Levels dialog box and set both Clip values to zero.
- I pressed down the Alt button (same as Option on a Mac) and started moving the white slider to set the whitest point in the image. I clipped the sky in the upper right, but preserved all highlight detail in the dress. (As you move the slider, you will see white areas. If you want to preserve detail in a particular area, make sure you leave it black.)
- Once the white point was set, I set the black point by holding Alt and moving the black slider. (The image will go white and you will see black areas showing clipping in the shadow areas. If you want to preserve detail, make sure the area remains white.)
- Then I moved the gray slider left and right and selected the most pleasing exposure.
- Clicked OK, scaled the photo down to 1200x1200 and saved it for web.
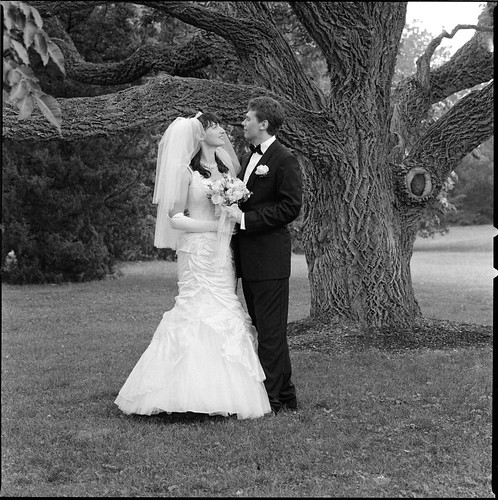
The previous version looks so flat compared to this one.
The photo was taken with a Hasselblad 500C/M and Zeiss Sonnar 150mm f/4 on Ilford HP5+ (EI 400). Developed in Ilfosol 3, 1+9 for 6 min and 30 sec at 20°C/68°F.
No comments:
Post a Comment